As mentioned earlier, the four large lime logs arrived at the end of January 1994. The three logs were transported to Dyvig and lowered there using pieces of iron to keep them fresh, while the largest of the logs, which seemed best suited for the production of the bottom plank, was towed into the hall at the Linde shipyard.
Splitting
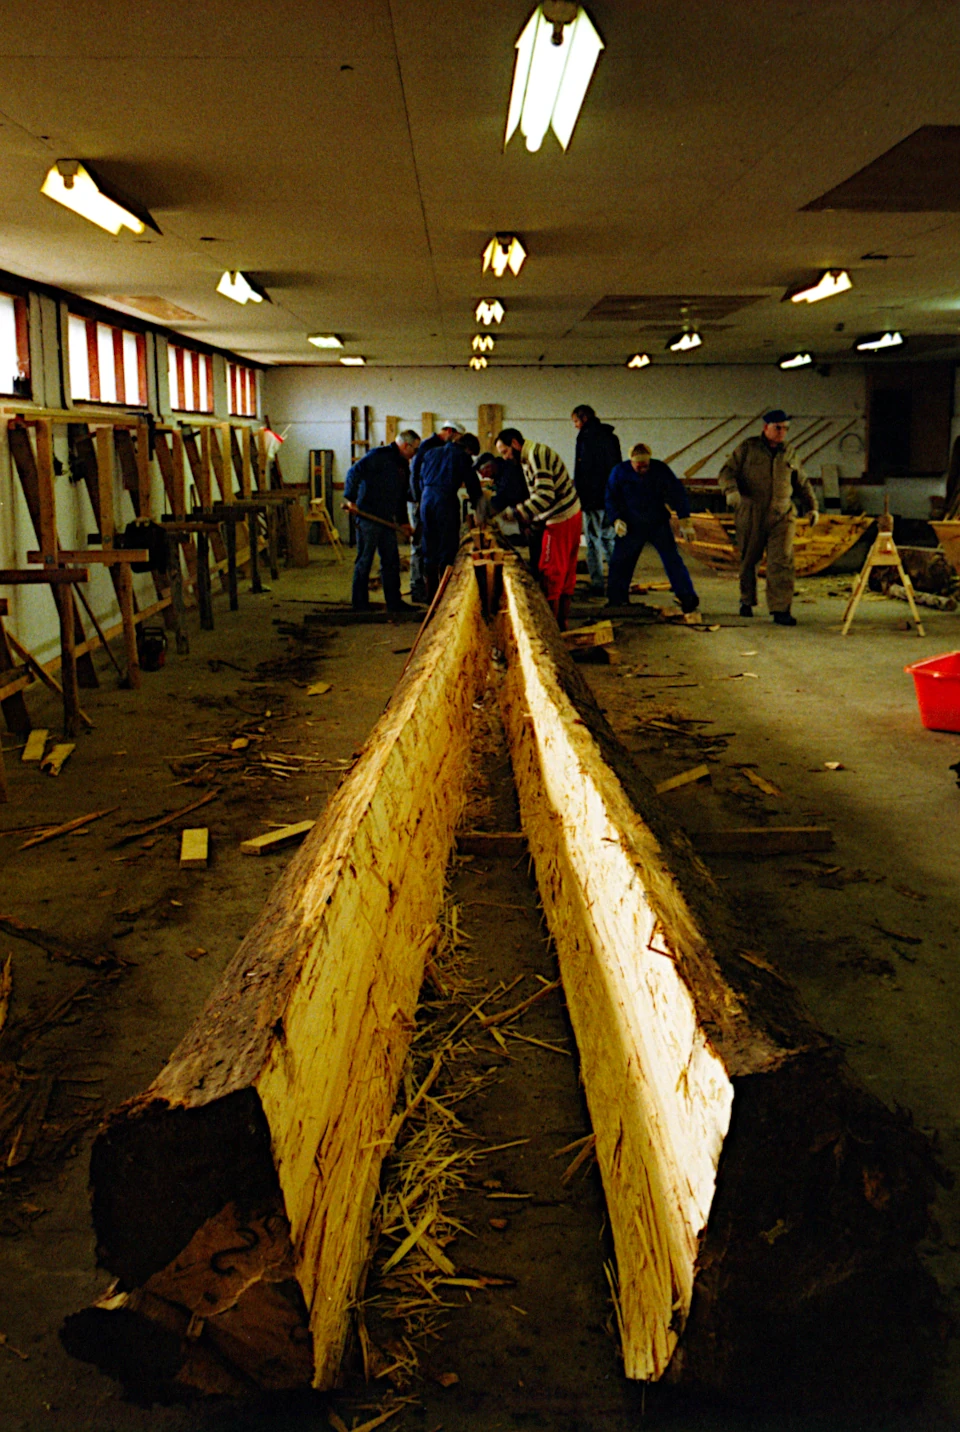
The trunk had a length of 18 metres, a diameter at the root end of 90 cm and an age of 170 years. It was orientated so that the largest crack was vertical and the trunk was supported with wooden wedges.
The splitting was done by driving steel wedges into this crack from the root end of the trunk. As a crack appeared on the upper side of the trunk where the bark had been removed, this crack was opened by driving wedges vertically into the crack. Initially, steel wedges were used, but as the crack grew larger, beech wedges were used, which did not hurt the soft linden wood as badly as the steel wedges. Linden wood does not split as readily as oak or beech, and there were always ‘runners’ from one half of the trunk to the other. These were cut with hatchets.
The splitting took about three hours.
Shaping
We now had to decide how to orientate the bottom board in one half of the trunk.
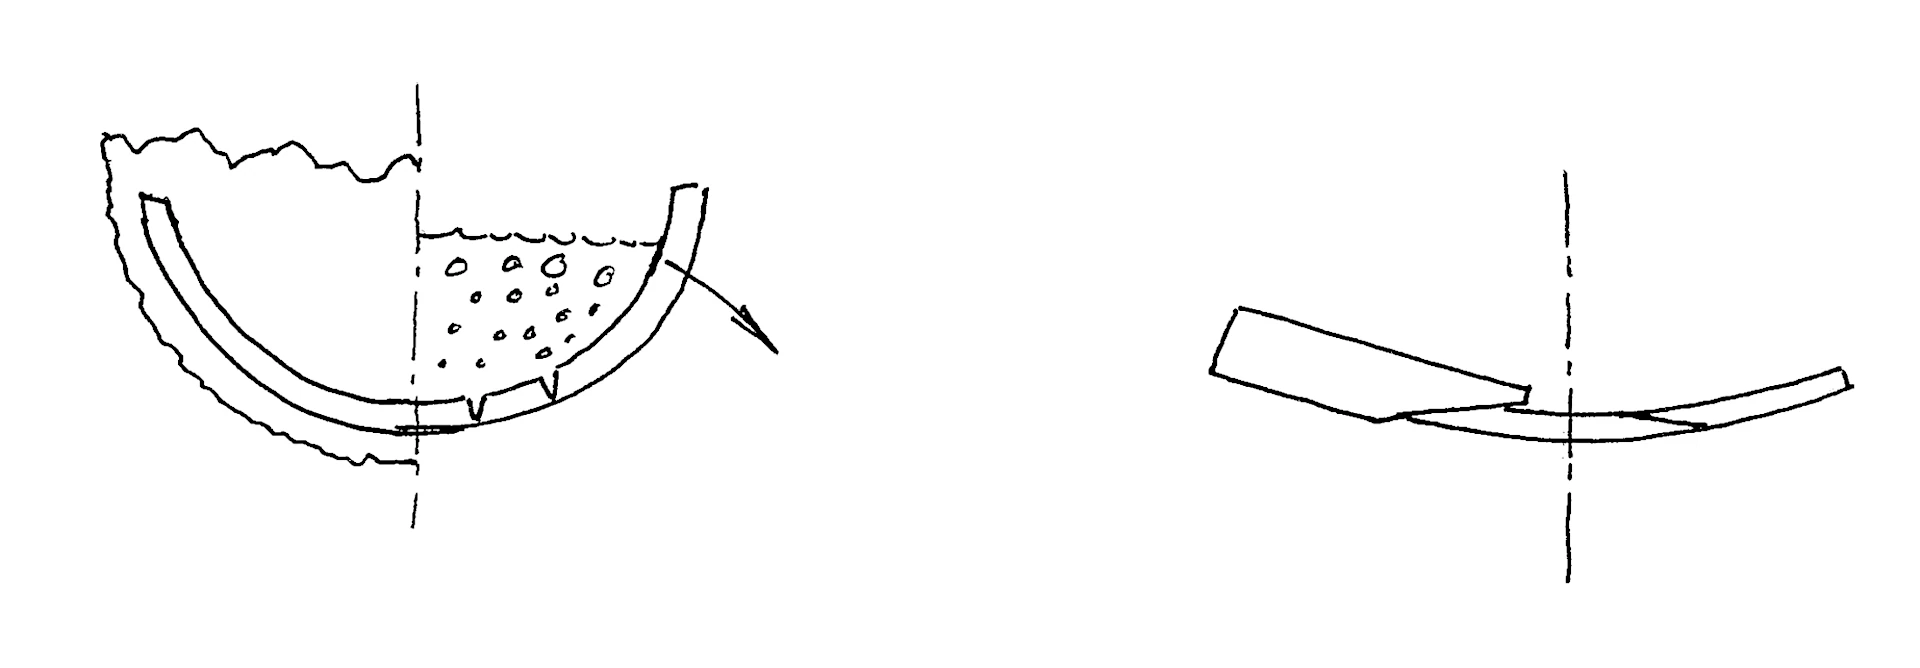
After roughly levelling the split side and removing the bark and sapwood from the entire trunk, we realised that the maximum width of the bottom board over the middle 6 m could not be contained within the trunk. It was decided to cut a hole in the log and then stretch or open it to a wider and flatter shape using boiling water. While the chopping was going on, two 1 metre long, half-round vessels were made from lime wood, open at the ends and with a wall thickness of 3 cm. They were to be used for stretching experiments, as the plan was to boil them in water before stretching.
According to the rule of thumb, a plank that needs to bend strongly should be boiled for one hour per inch of thickness. After boiling sample 1 for two hours, it stretched and cracked lengthwise in several places. Test piece 2, which was boiled for a further hour, also cracked. We now realised that heating with boiling water was not a viable method.
However, the traditional method in ancient times was to heat boat shells to be stretched by heating the wood over a fire. It is claimed that the wood needs to reach a temperature of 140 degrees to become suitably plastic. To achieve this temperature, the boat shell was filled with tar, which was brought to a boil by heating it in the fire. We had to abandon this method, partly because we had no experience and partly because we realised that the already fairly hewn keel line would result in an excessively curved keel line when the boat shell was opened amidships, causing the ends to lift. We realised that our predecessors had not used this method for the same reason. They must have had a large enough trunk so that they could cut the bottom plank into shape without stretching.
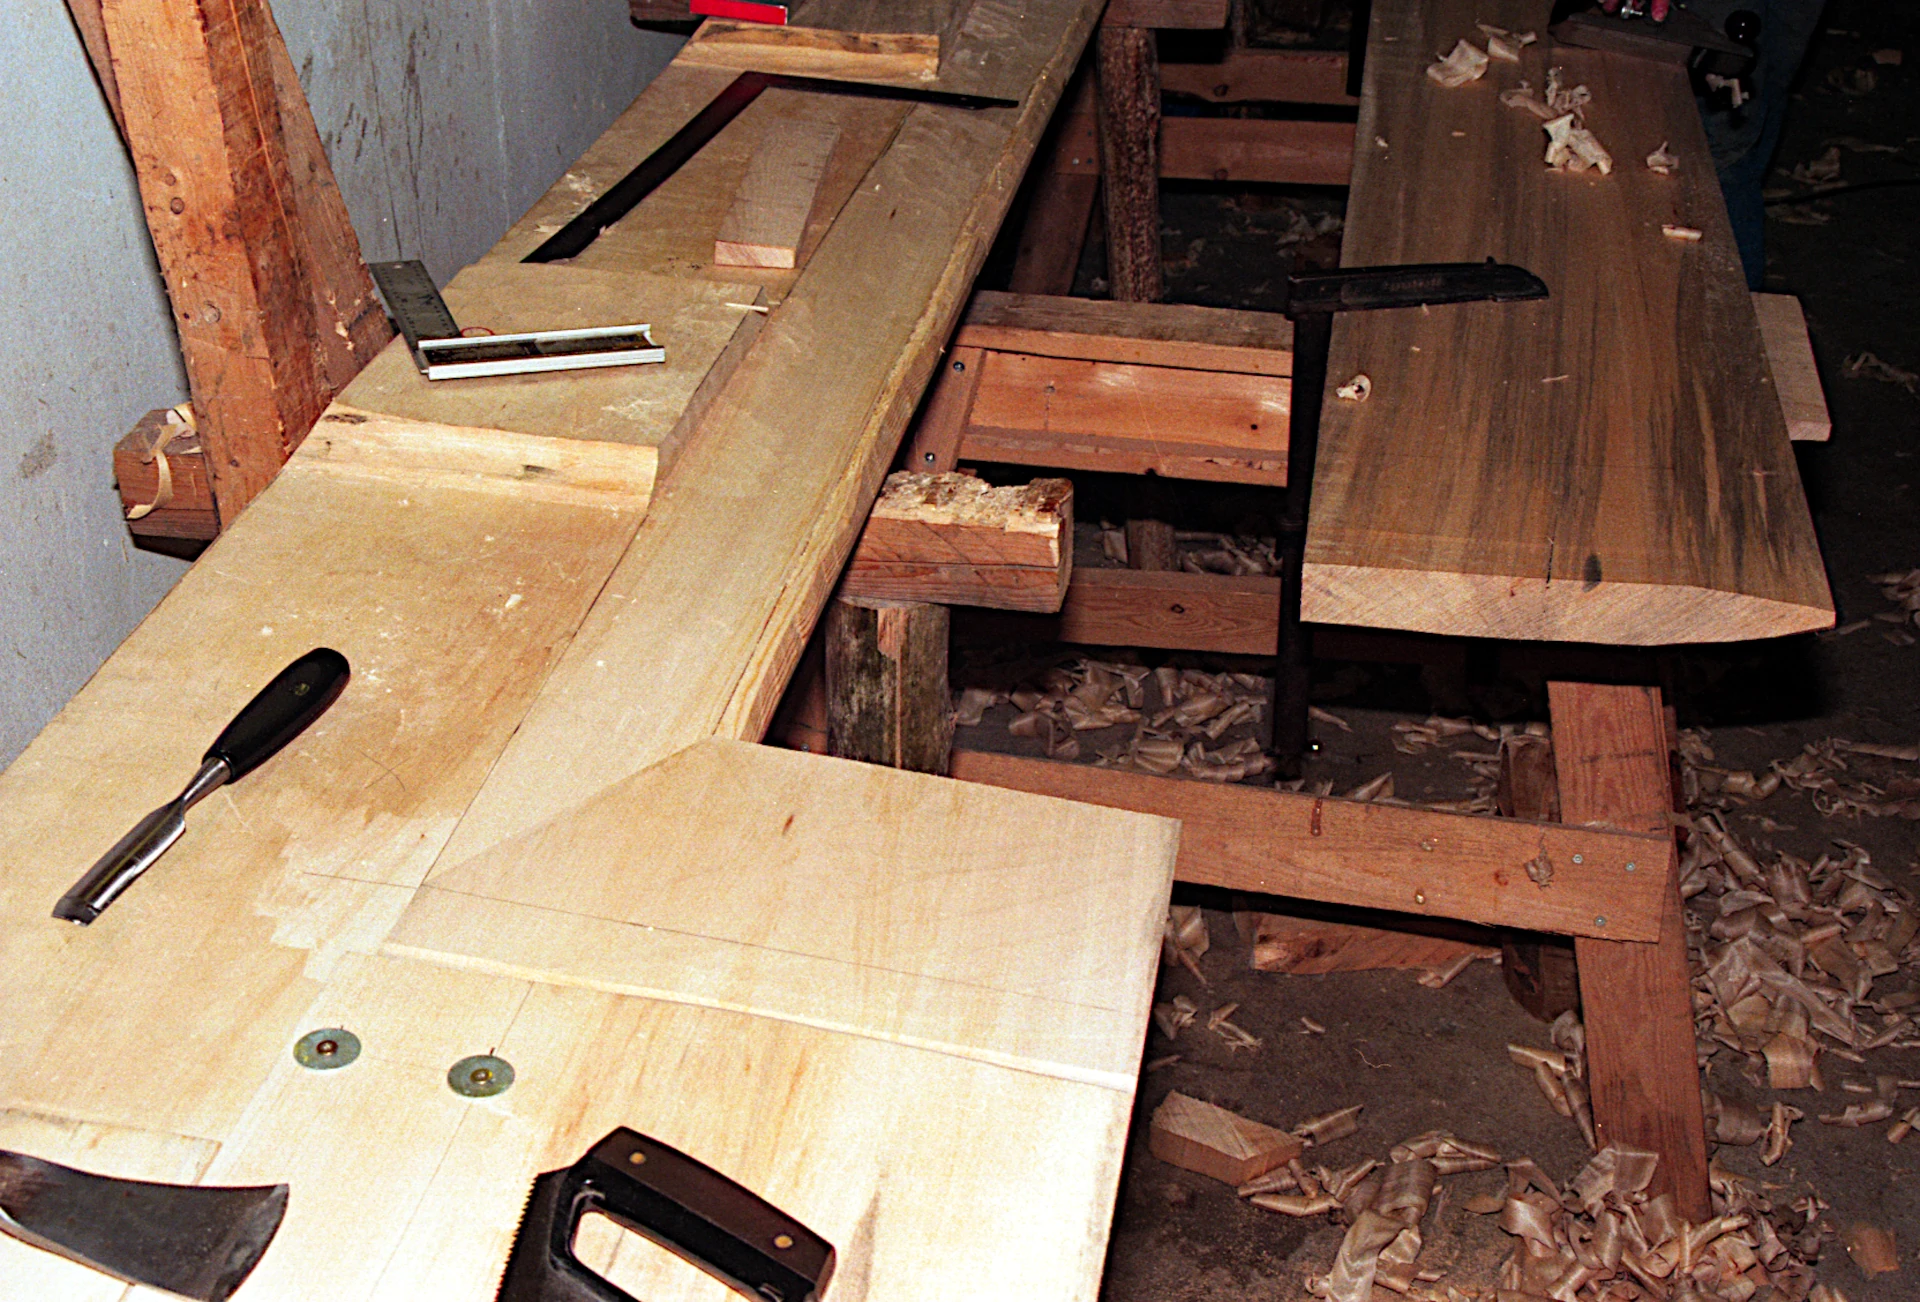
As we had already started cutting the plank, we had to increase the plank width by gluing. We found a glue commonly used in wooden shipbuilding (an epoxy from System West) and a carpenter experienced in using this glue was contacted.
Some experiments with gluing planks together and subsequent loading resulted in no difference in strength or elasticity, whether the planks were whole or glued together.
The hollowed-out plank was chopped almost flat over the middle 6 metres, creating 10 cm wide glue surfaces. As the glue could hardly withstand more than 0.7 mm thick glue joints, these surfaces had to be planed very flat. 13 boards, 8 cm thick, were carved from the other half of the log. The boards were moulded with flat gluing surfaces. The actual gluing was carried out by ship carpenter Arne Wahl, Fåborg. As the boards were placed, the joints were clamped together with grease-lubricated screws that could be removed after the glue had hardened. The gluing process is described in detail in the member folder in section 4.5.
After curing and removing the screws, the plank with the glued boards was ready for further processing.
The processing
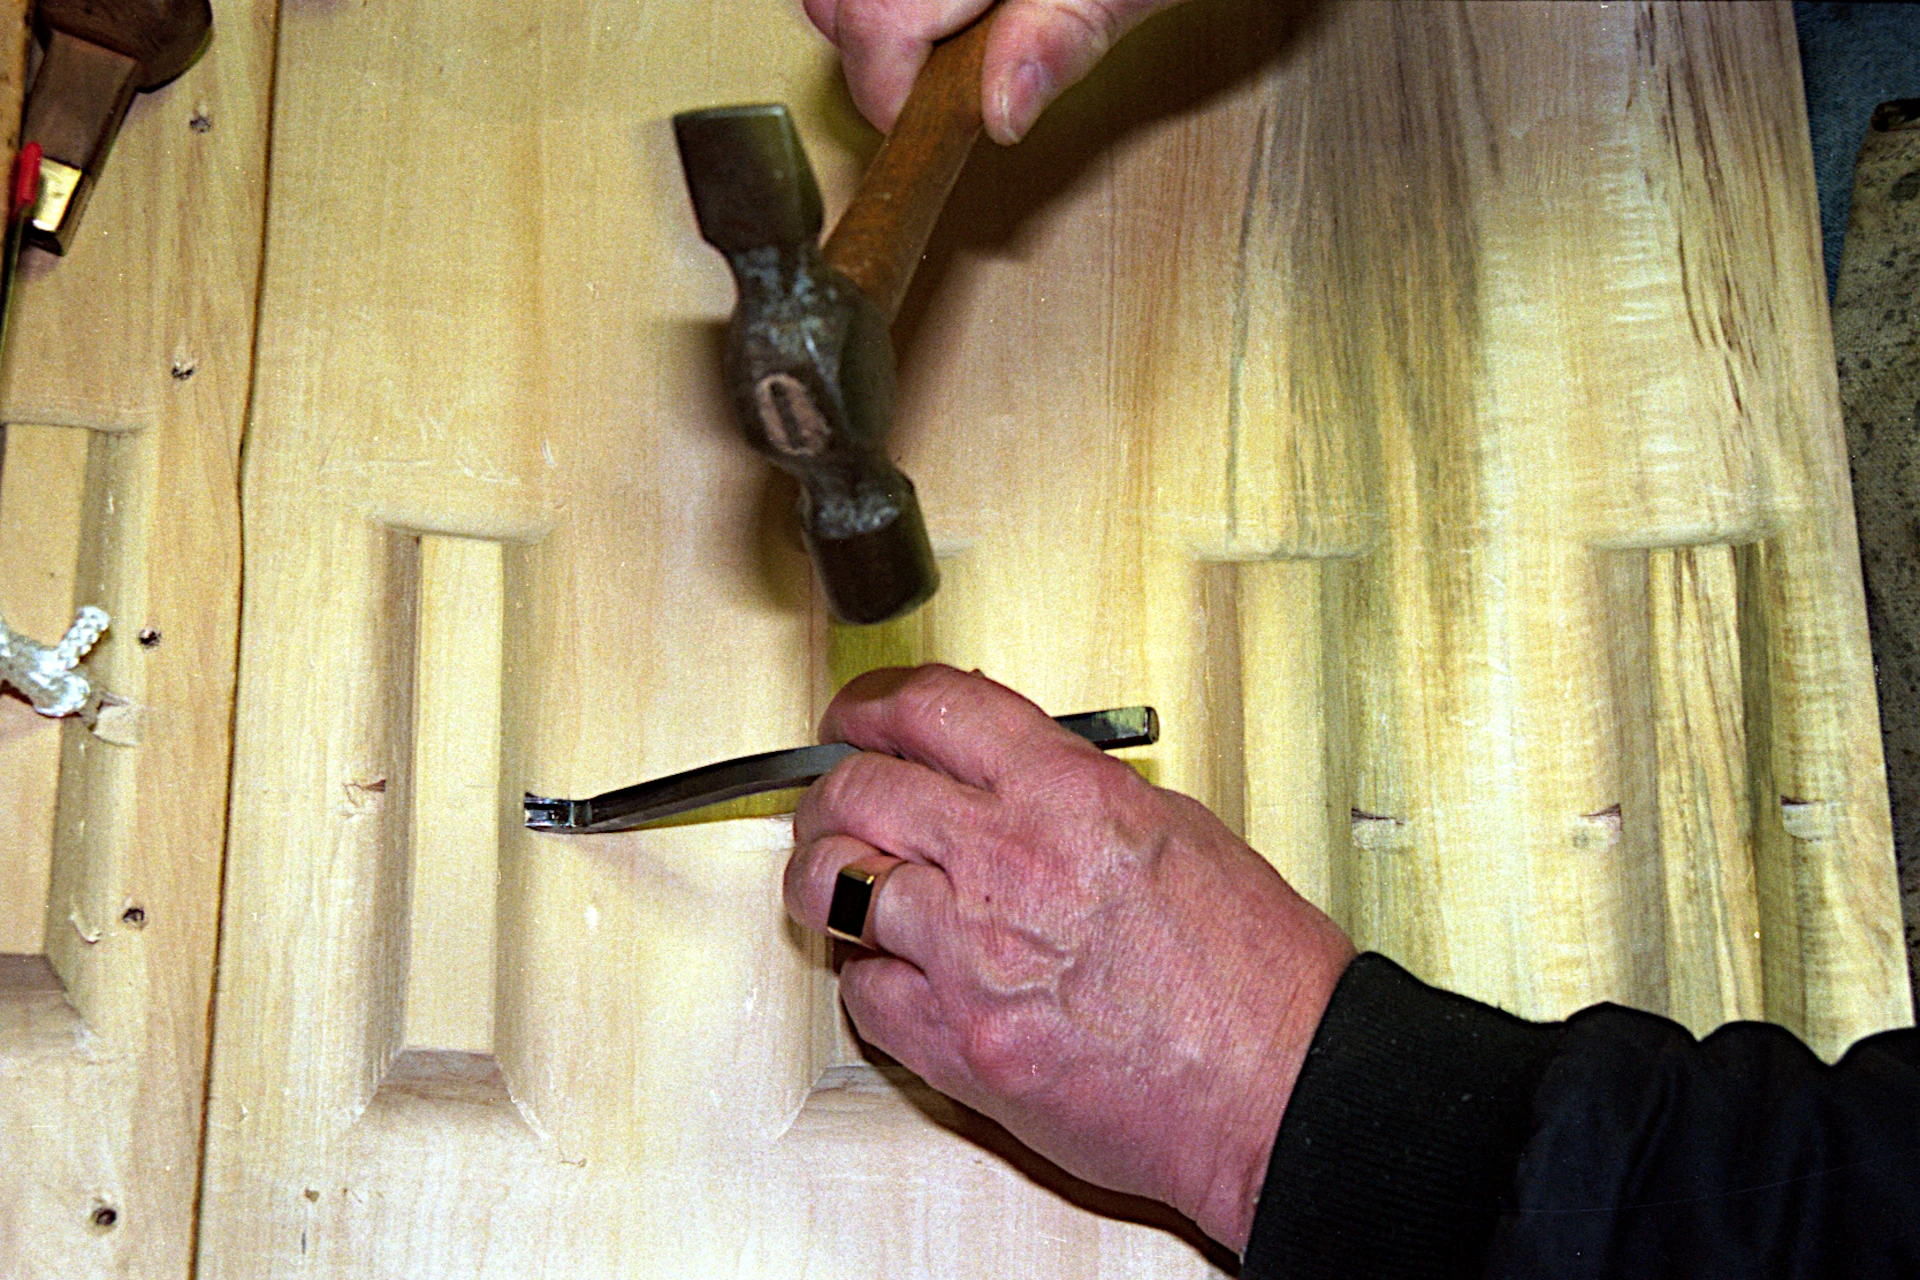
The plank was turned over so that the outside could be worked down to its final shape. After the final operation that left the surface smooth (without using sandpaper), the plank was turned over and the inside was carved and cut out. A particular challenge was the carving of the cleats and the through hole through each of them. This hole was found to be square with an edge length of 10 mm.
Some U-shaped chisels were made, the handles of which were shaped so that they could pass over the neighbouring cleat.
The edge of the bottom plank was left raw so that it could be adapted to the side plank during assembly. The ends of the bottom plank contained the tongue-and-groove joint between the bottom plank and the lower horn, also a wood carving job of dimensions.
After completing the bottom plank, we realised that the wood present largely determines the workflow.
The weight of the finished bottom plank was 96 kg.


